

Easter Eggs colored the Old Way
no tox Wax & Color, and Time Together

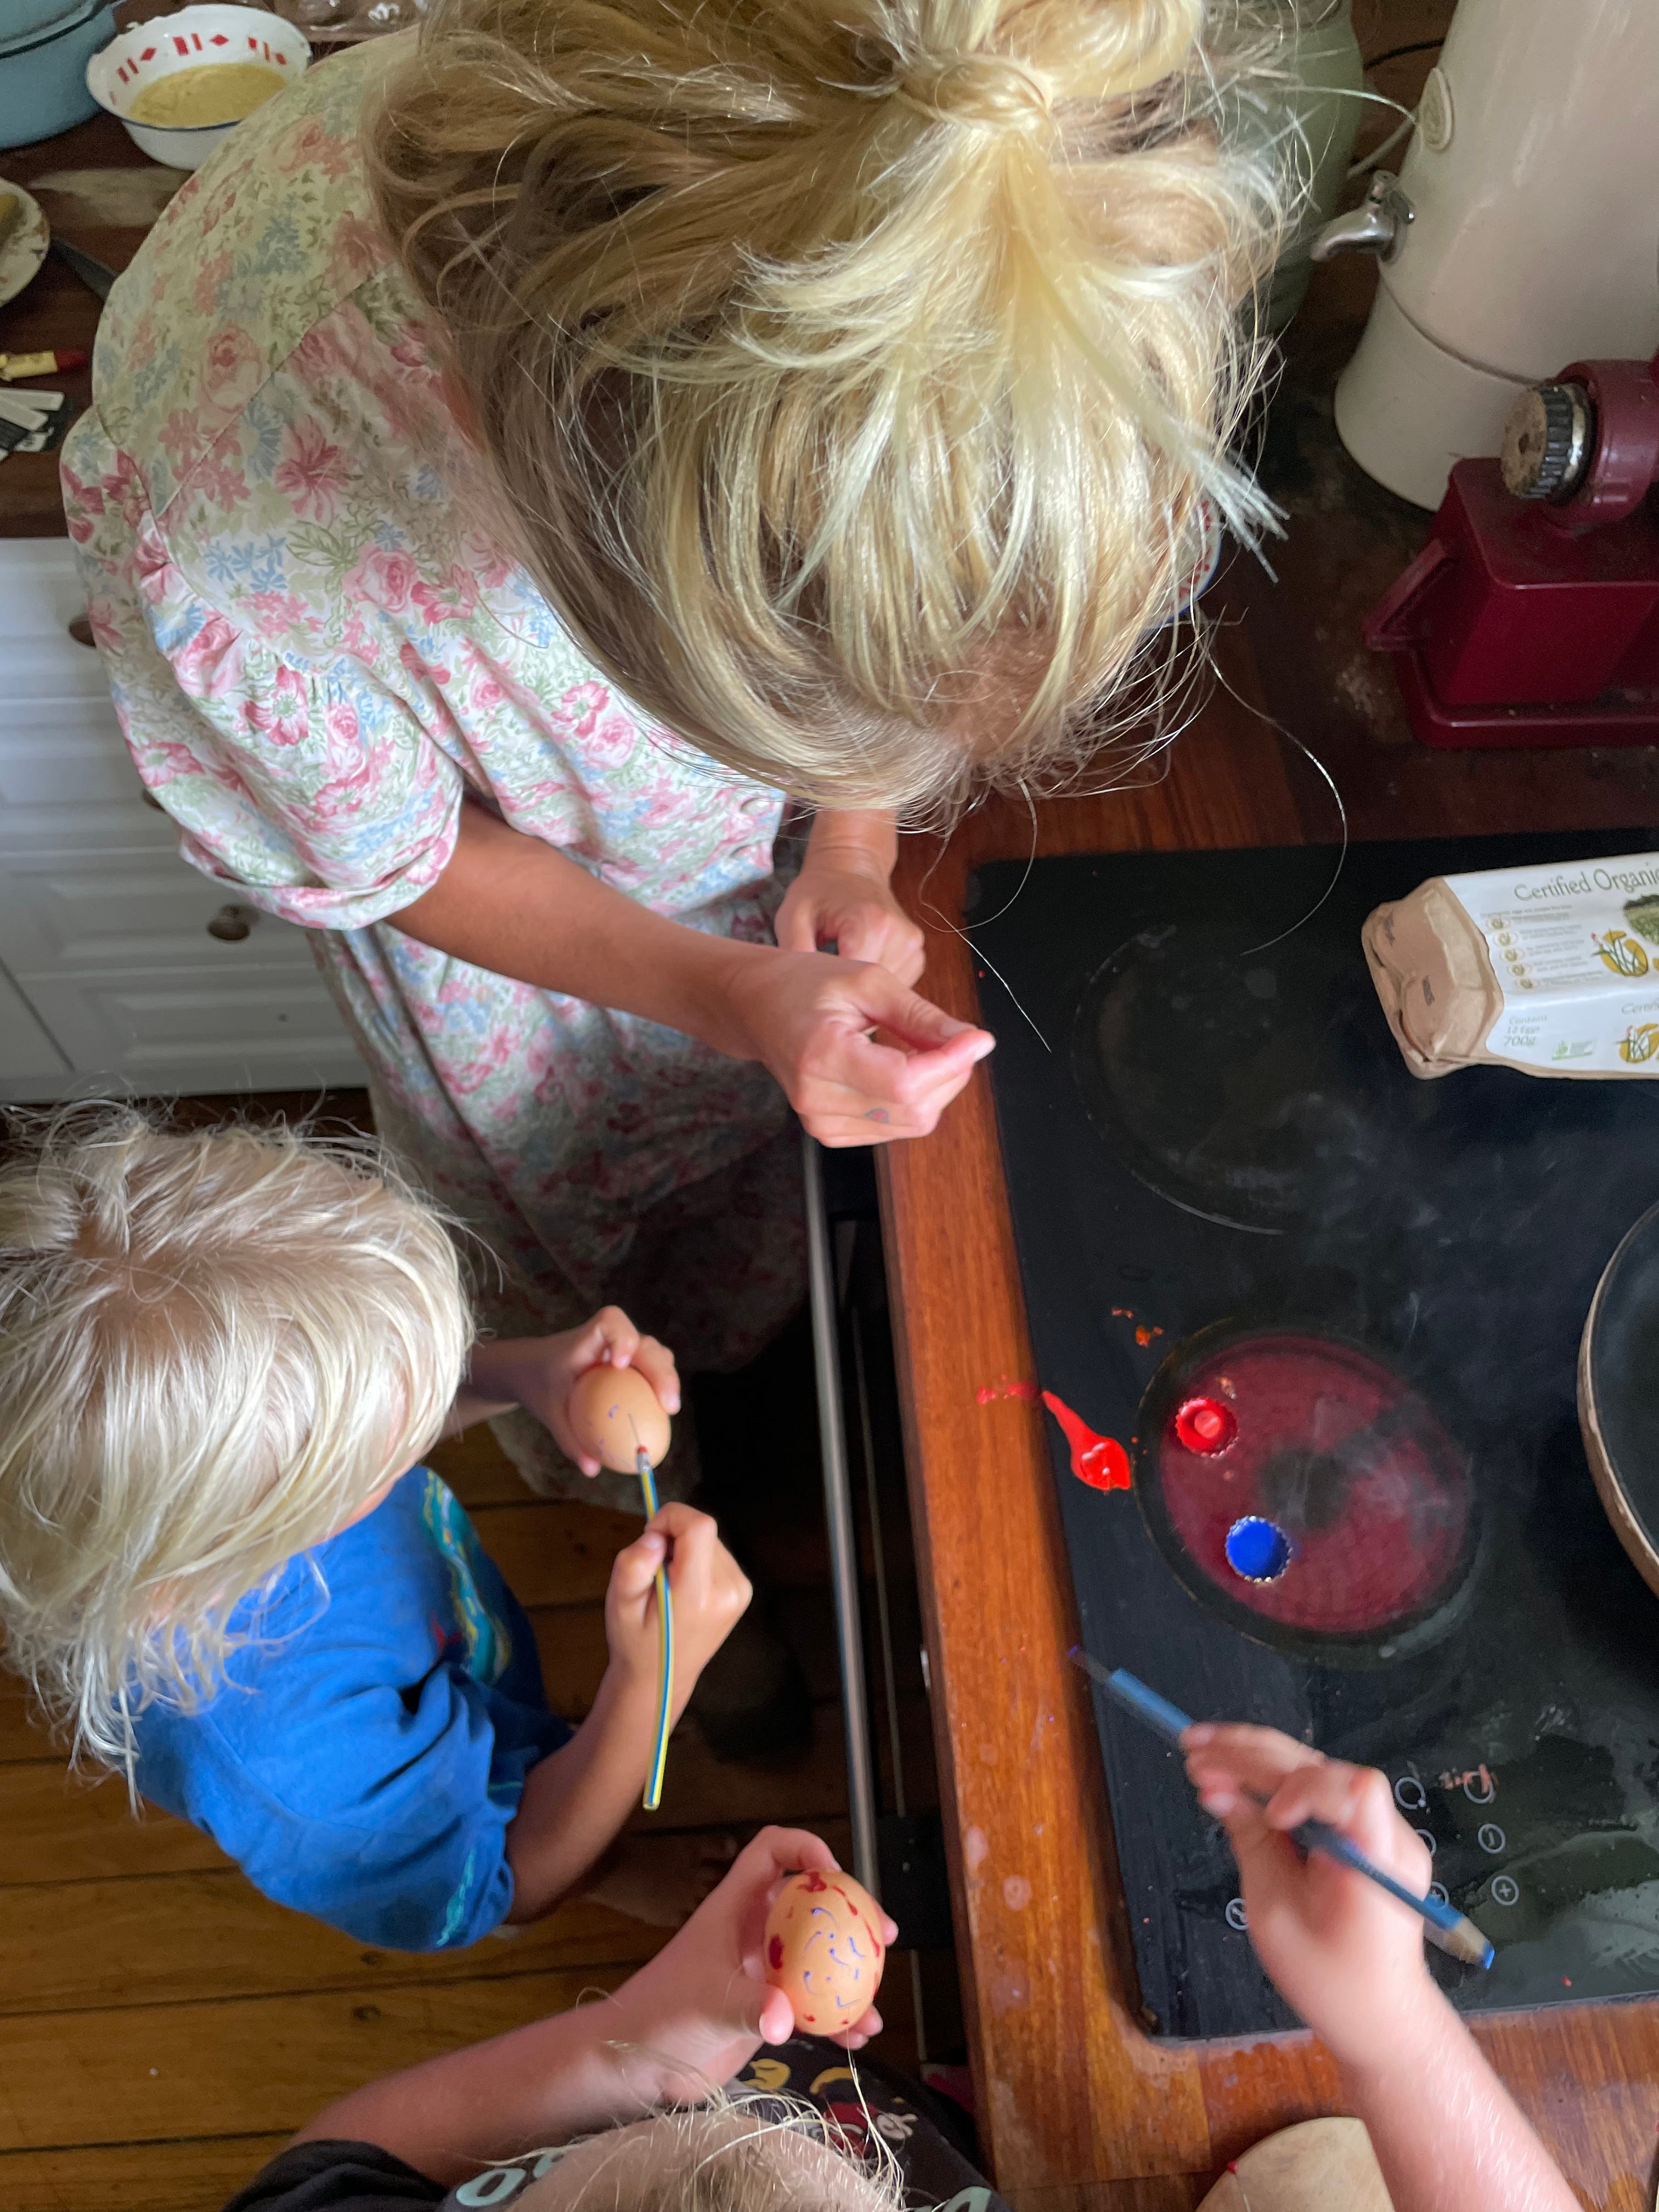
This year, just before Easter, we welcomed my friend Maxine and her two daughters into our home to decorate eggs together. It filled my heart with quiet pride to share the old way we once followed back home in the Czech Republic, a simple tradition carried through generations. As we sat together, hands busy and minds calm, I felt a wave of nostalgia for those moments from my childhood.
Zuri, Maxine’s older daughter, took to the craft with care, it reminded me how naturally girls are drawn into these small, creative rituals. My boy Luka tried for a little while, dipping in and out, but soon enough he ran off after the chickens, as boys often do.
There is something deeply peaceful in this way of decorating. No rush, no chemicals, just wax, colour, and time shared as family. I wanted to pass this on, so I’ve put together a simple step-by-step with a little video. I hope you might give it a try next Easter. It is a gentle, natural way to create, and a beautiful way to be with your children.

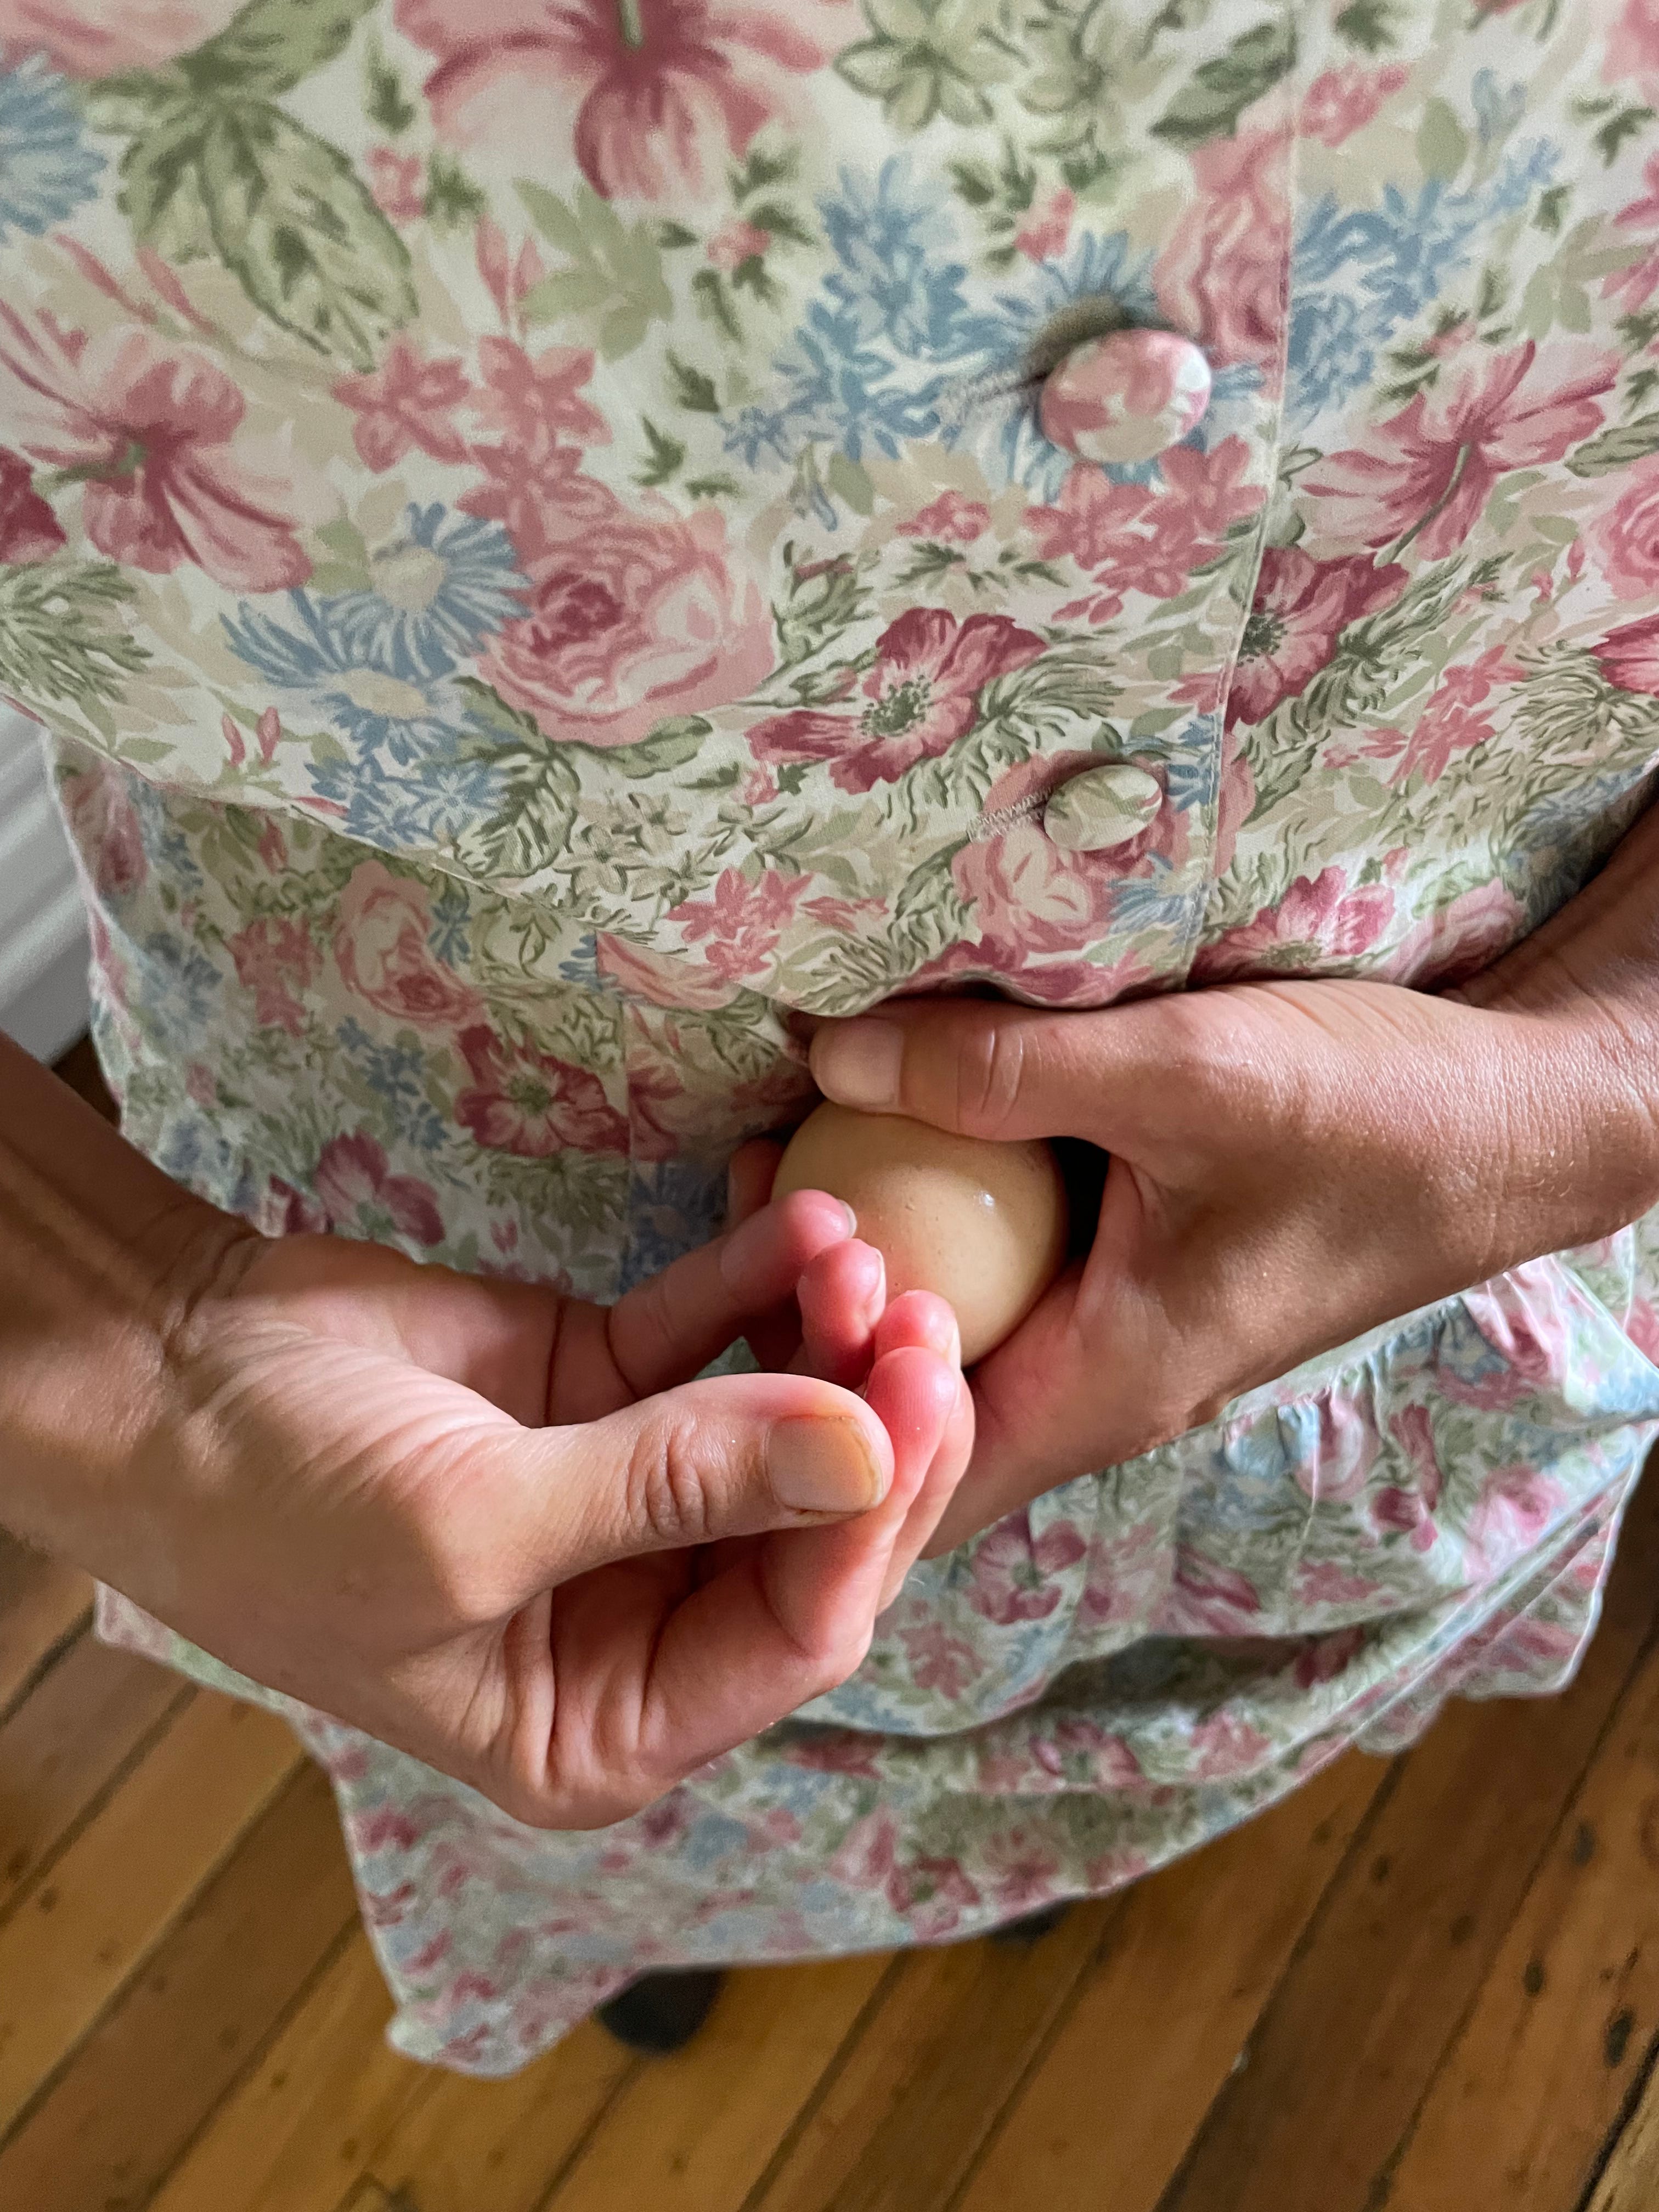
To make decorated Easter eggs you can hang, start by blowing out the egg: gently wash it, then use a pin or needle to poke a small hole at the top and a slightly bigger hole at the bottom. Wiggle the needle inside to break the yolk, then hold the egg over a bowl and blow through the small hole until all the contents come out (you can use a straw to make it easier). Rinse the empty shell with water and let it dry completely.
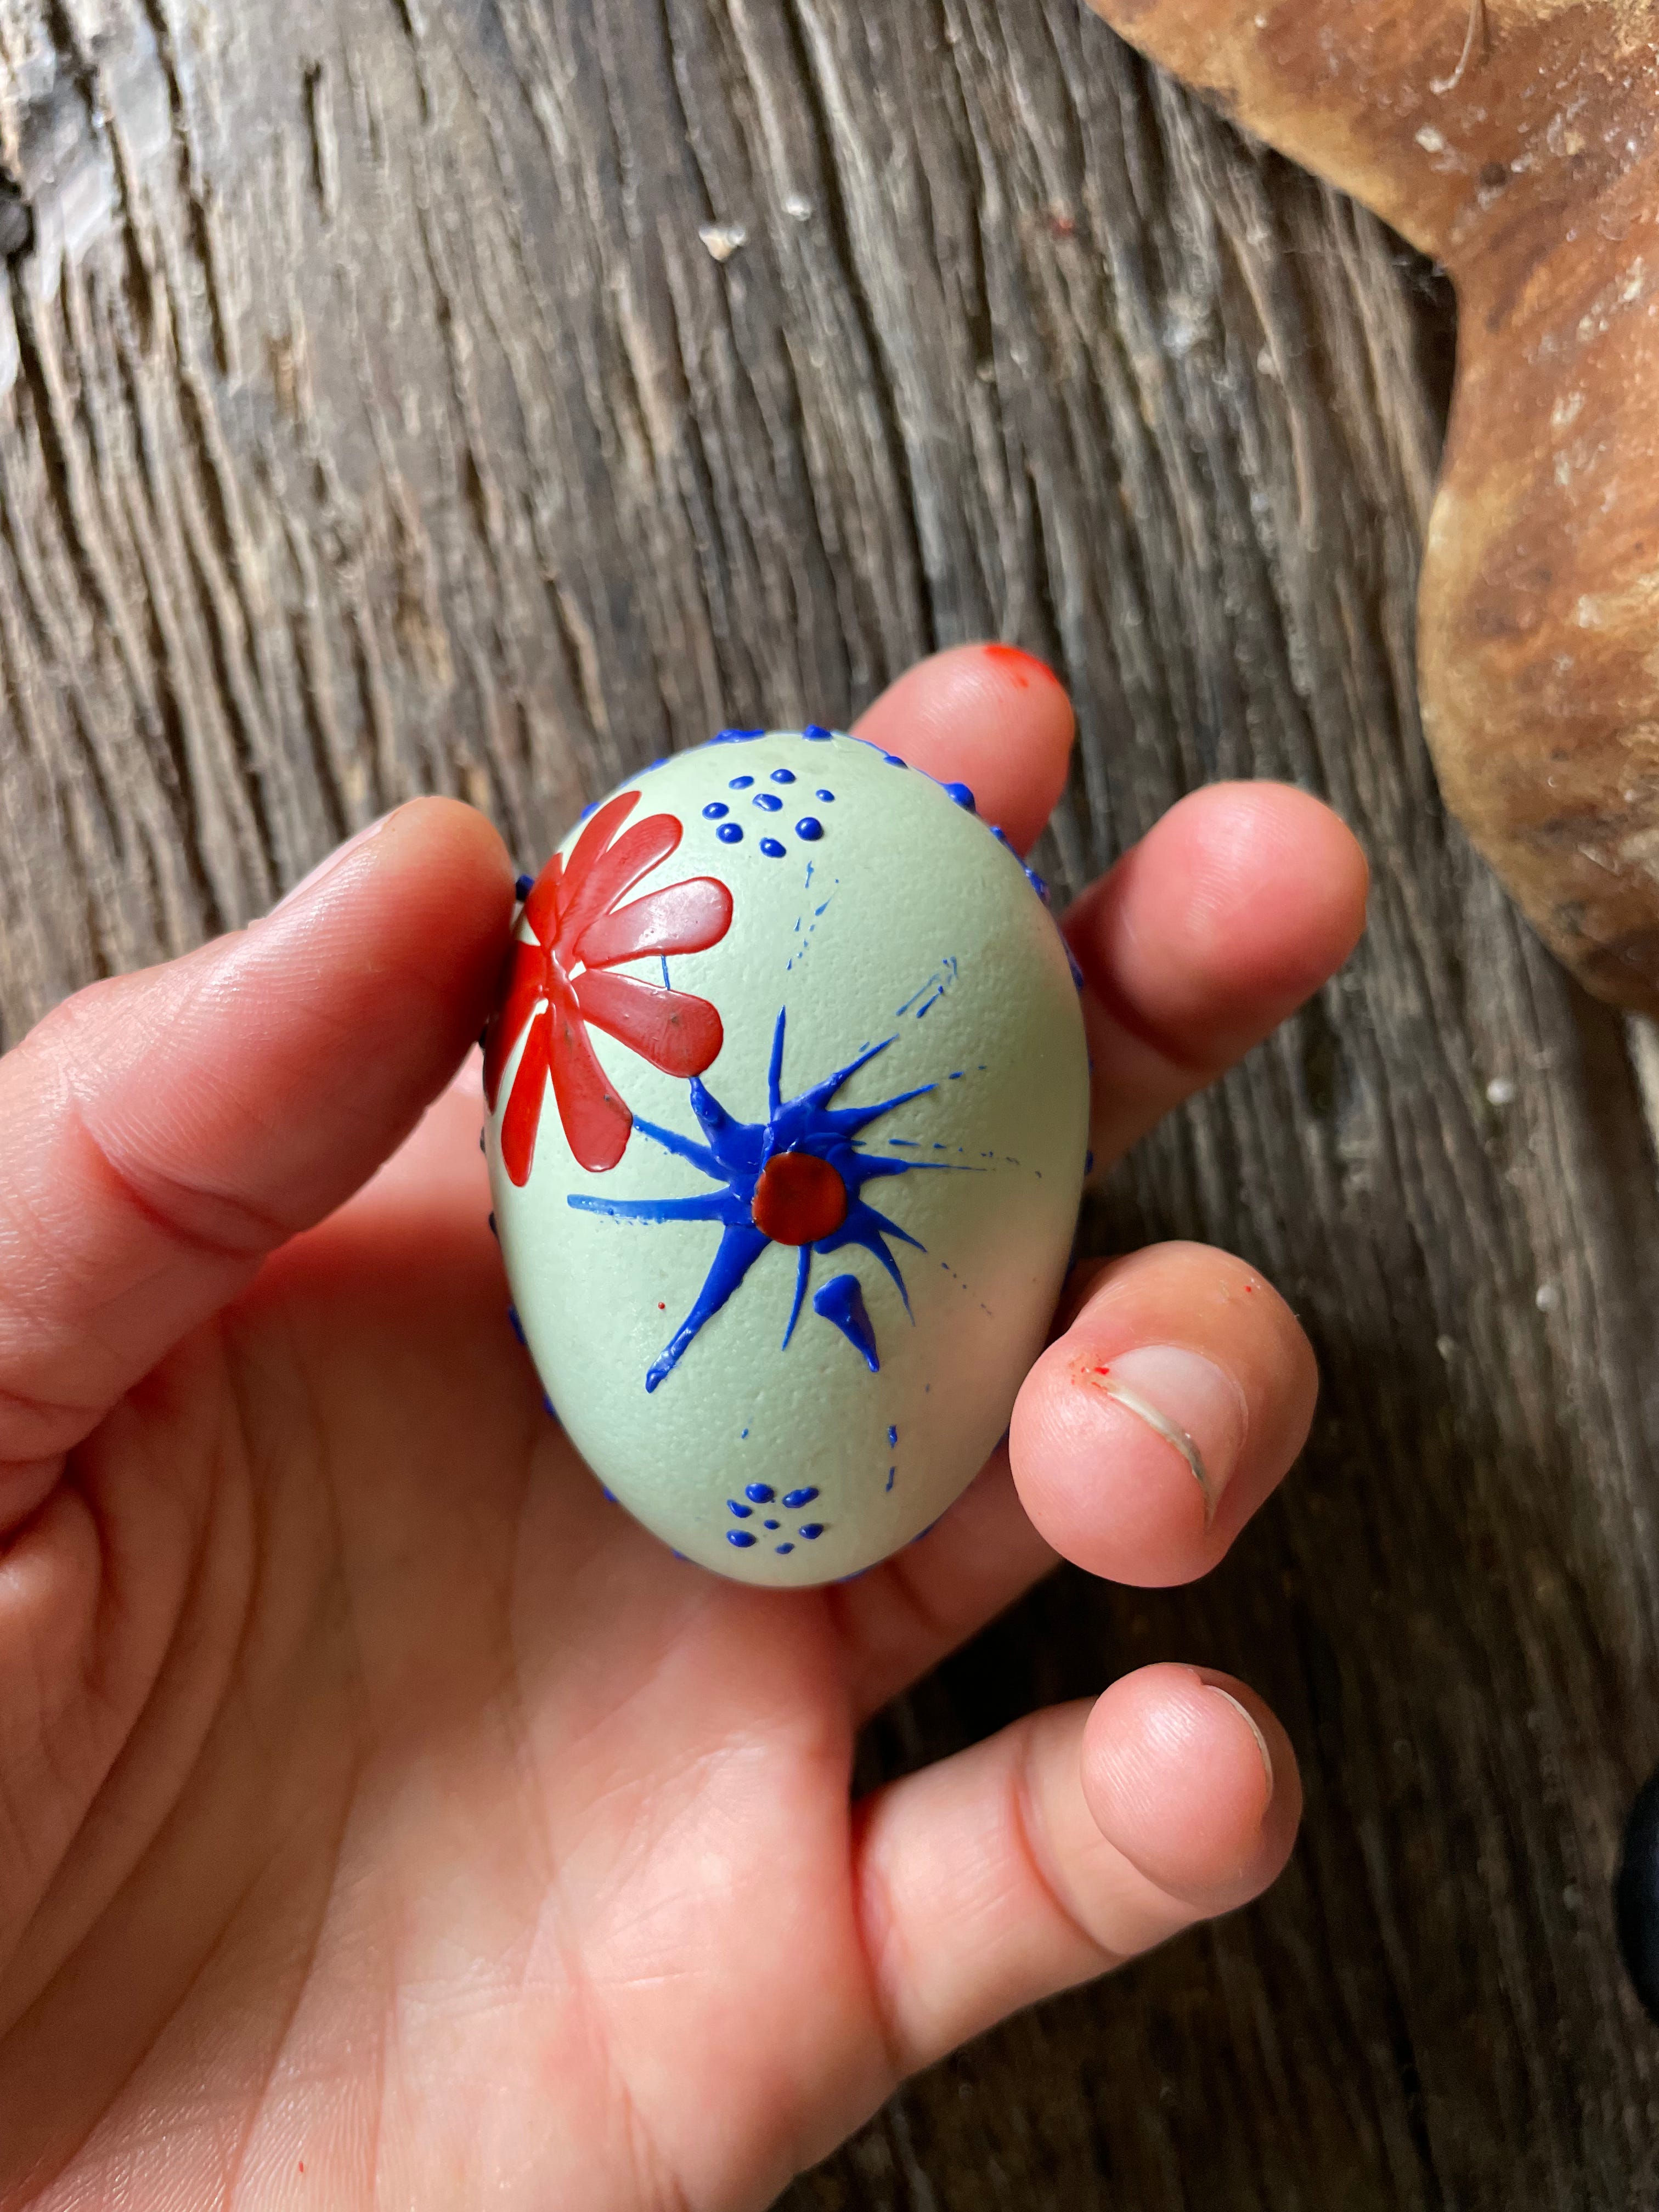
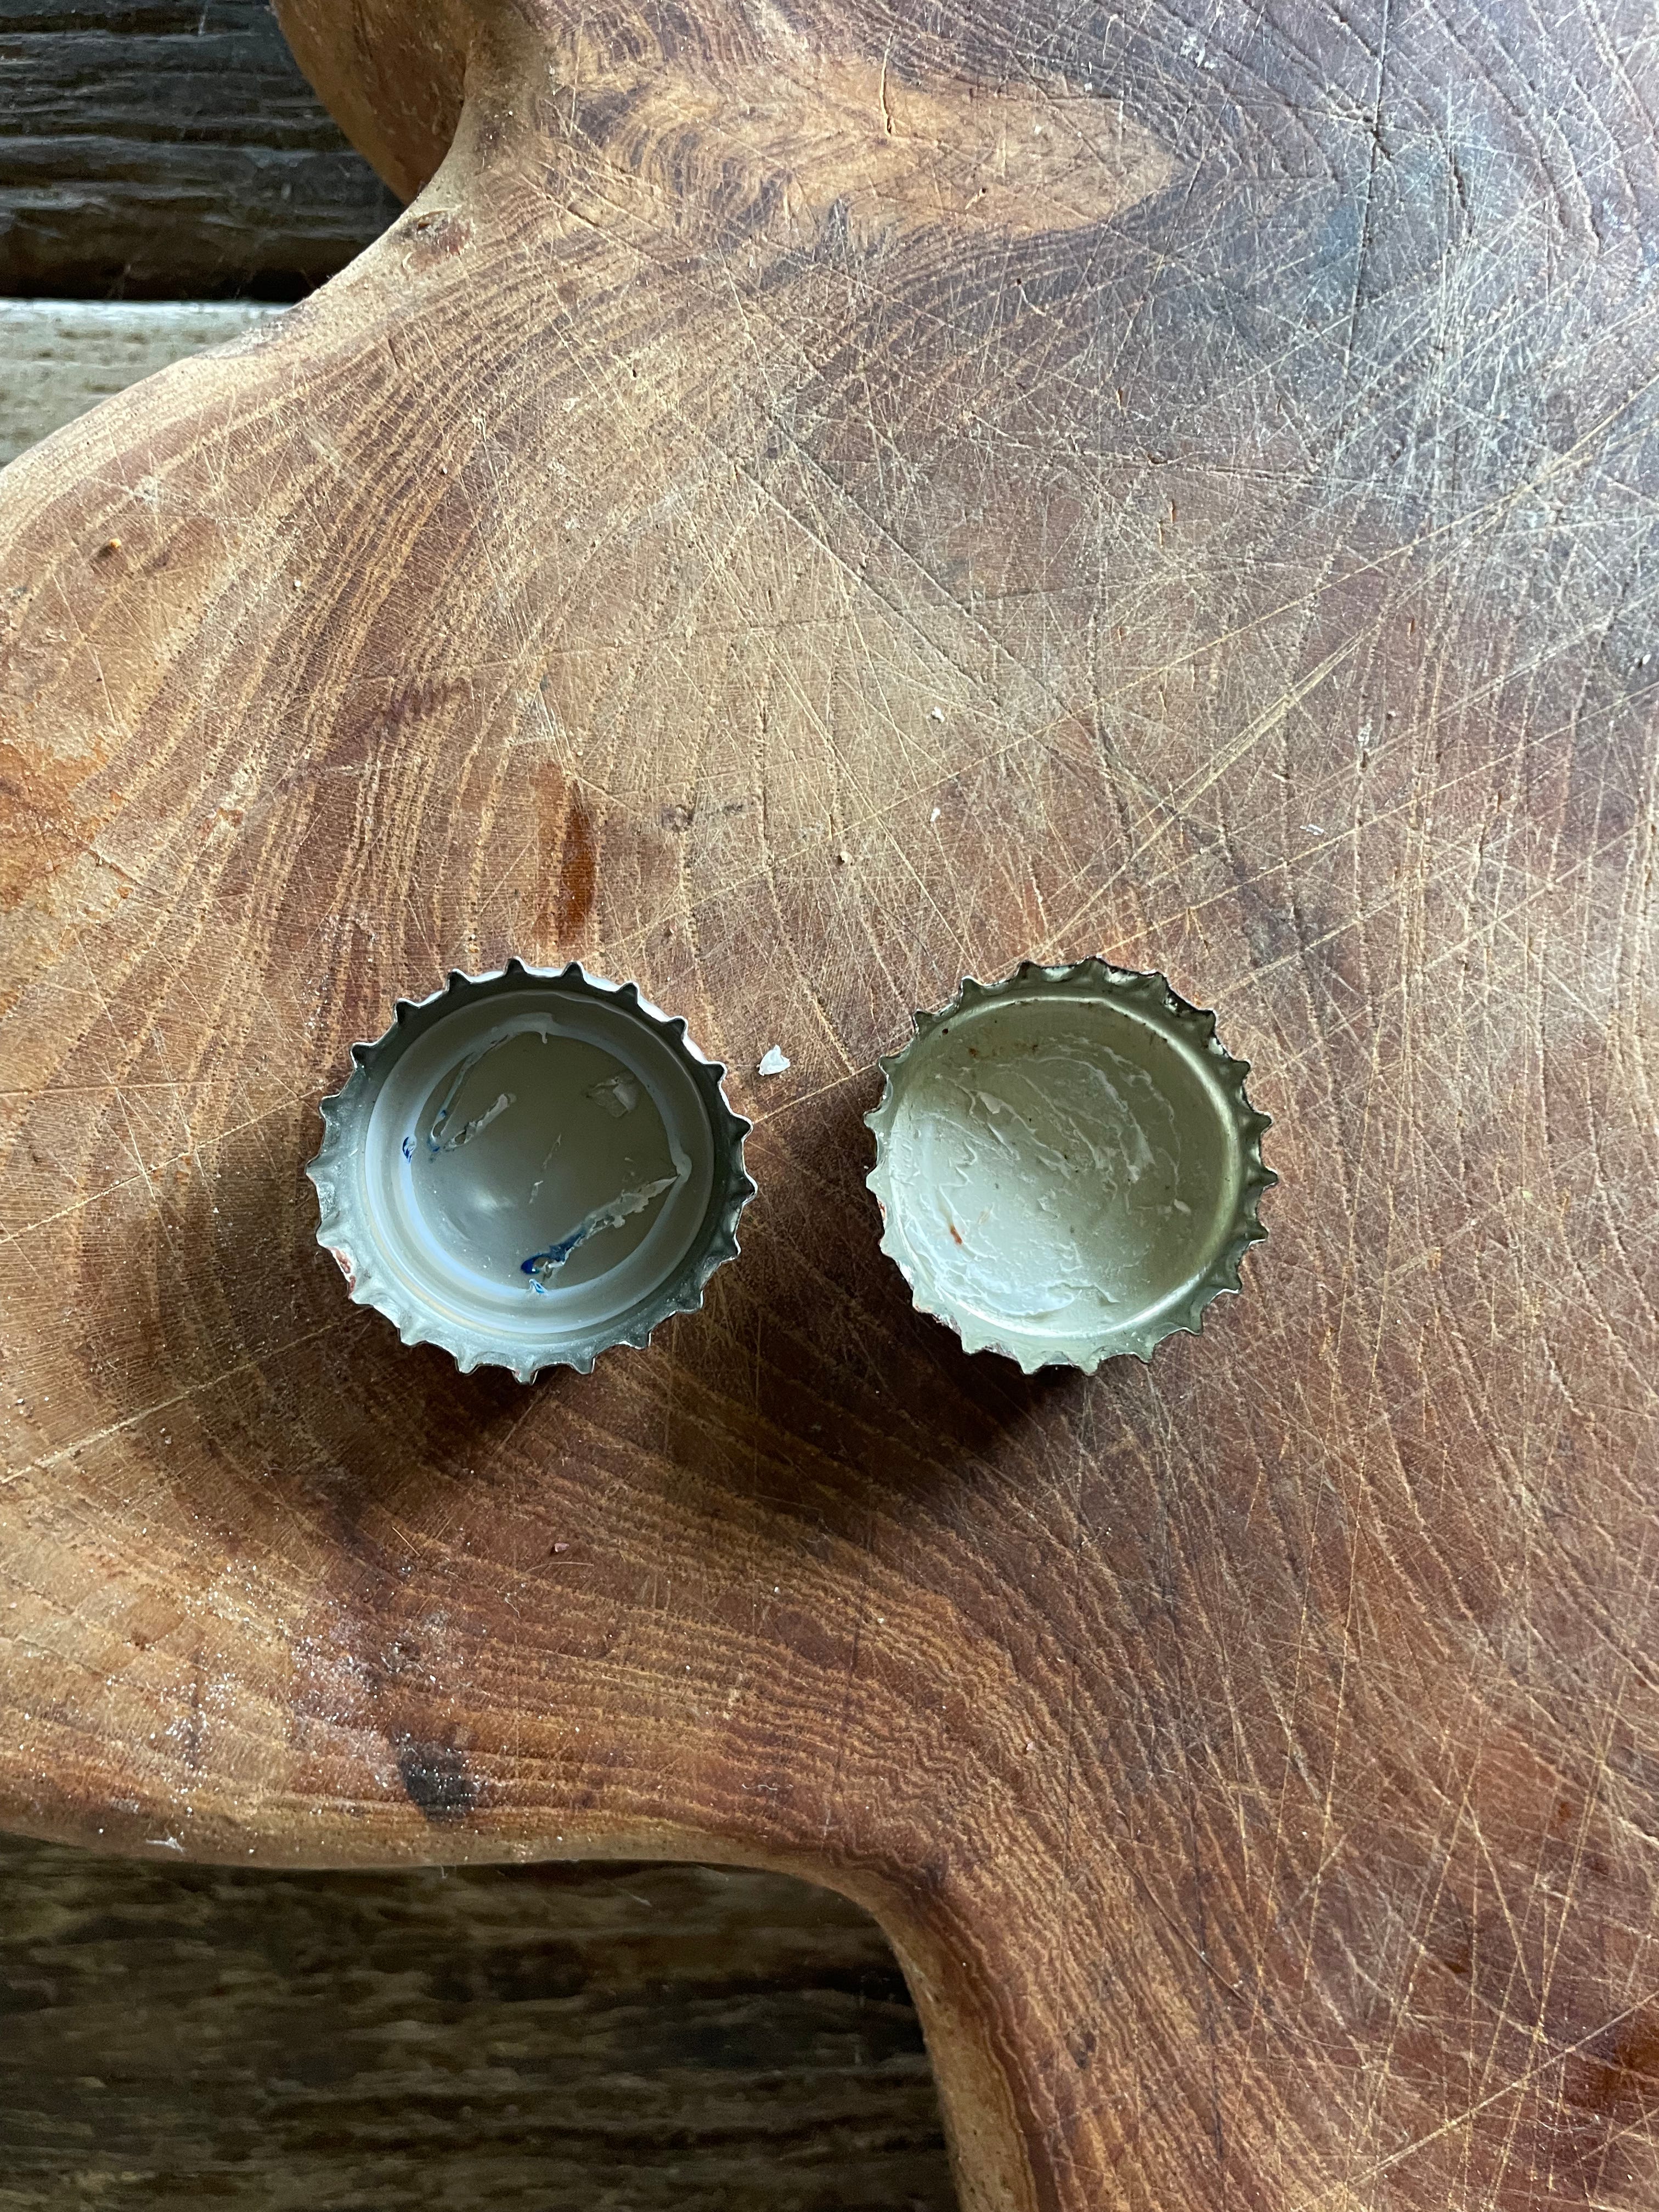
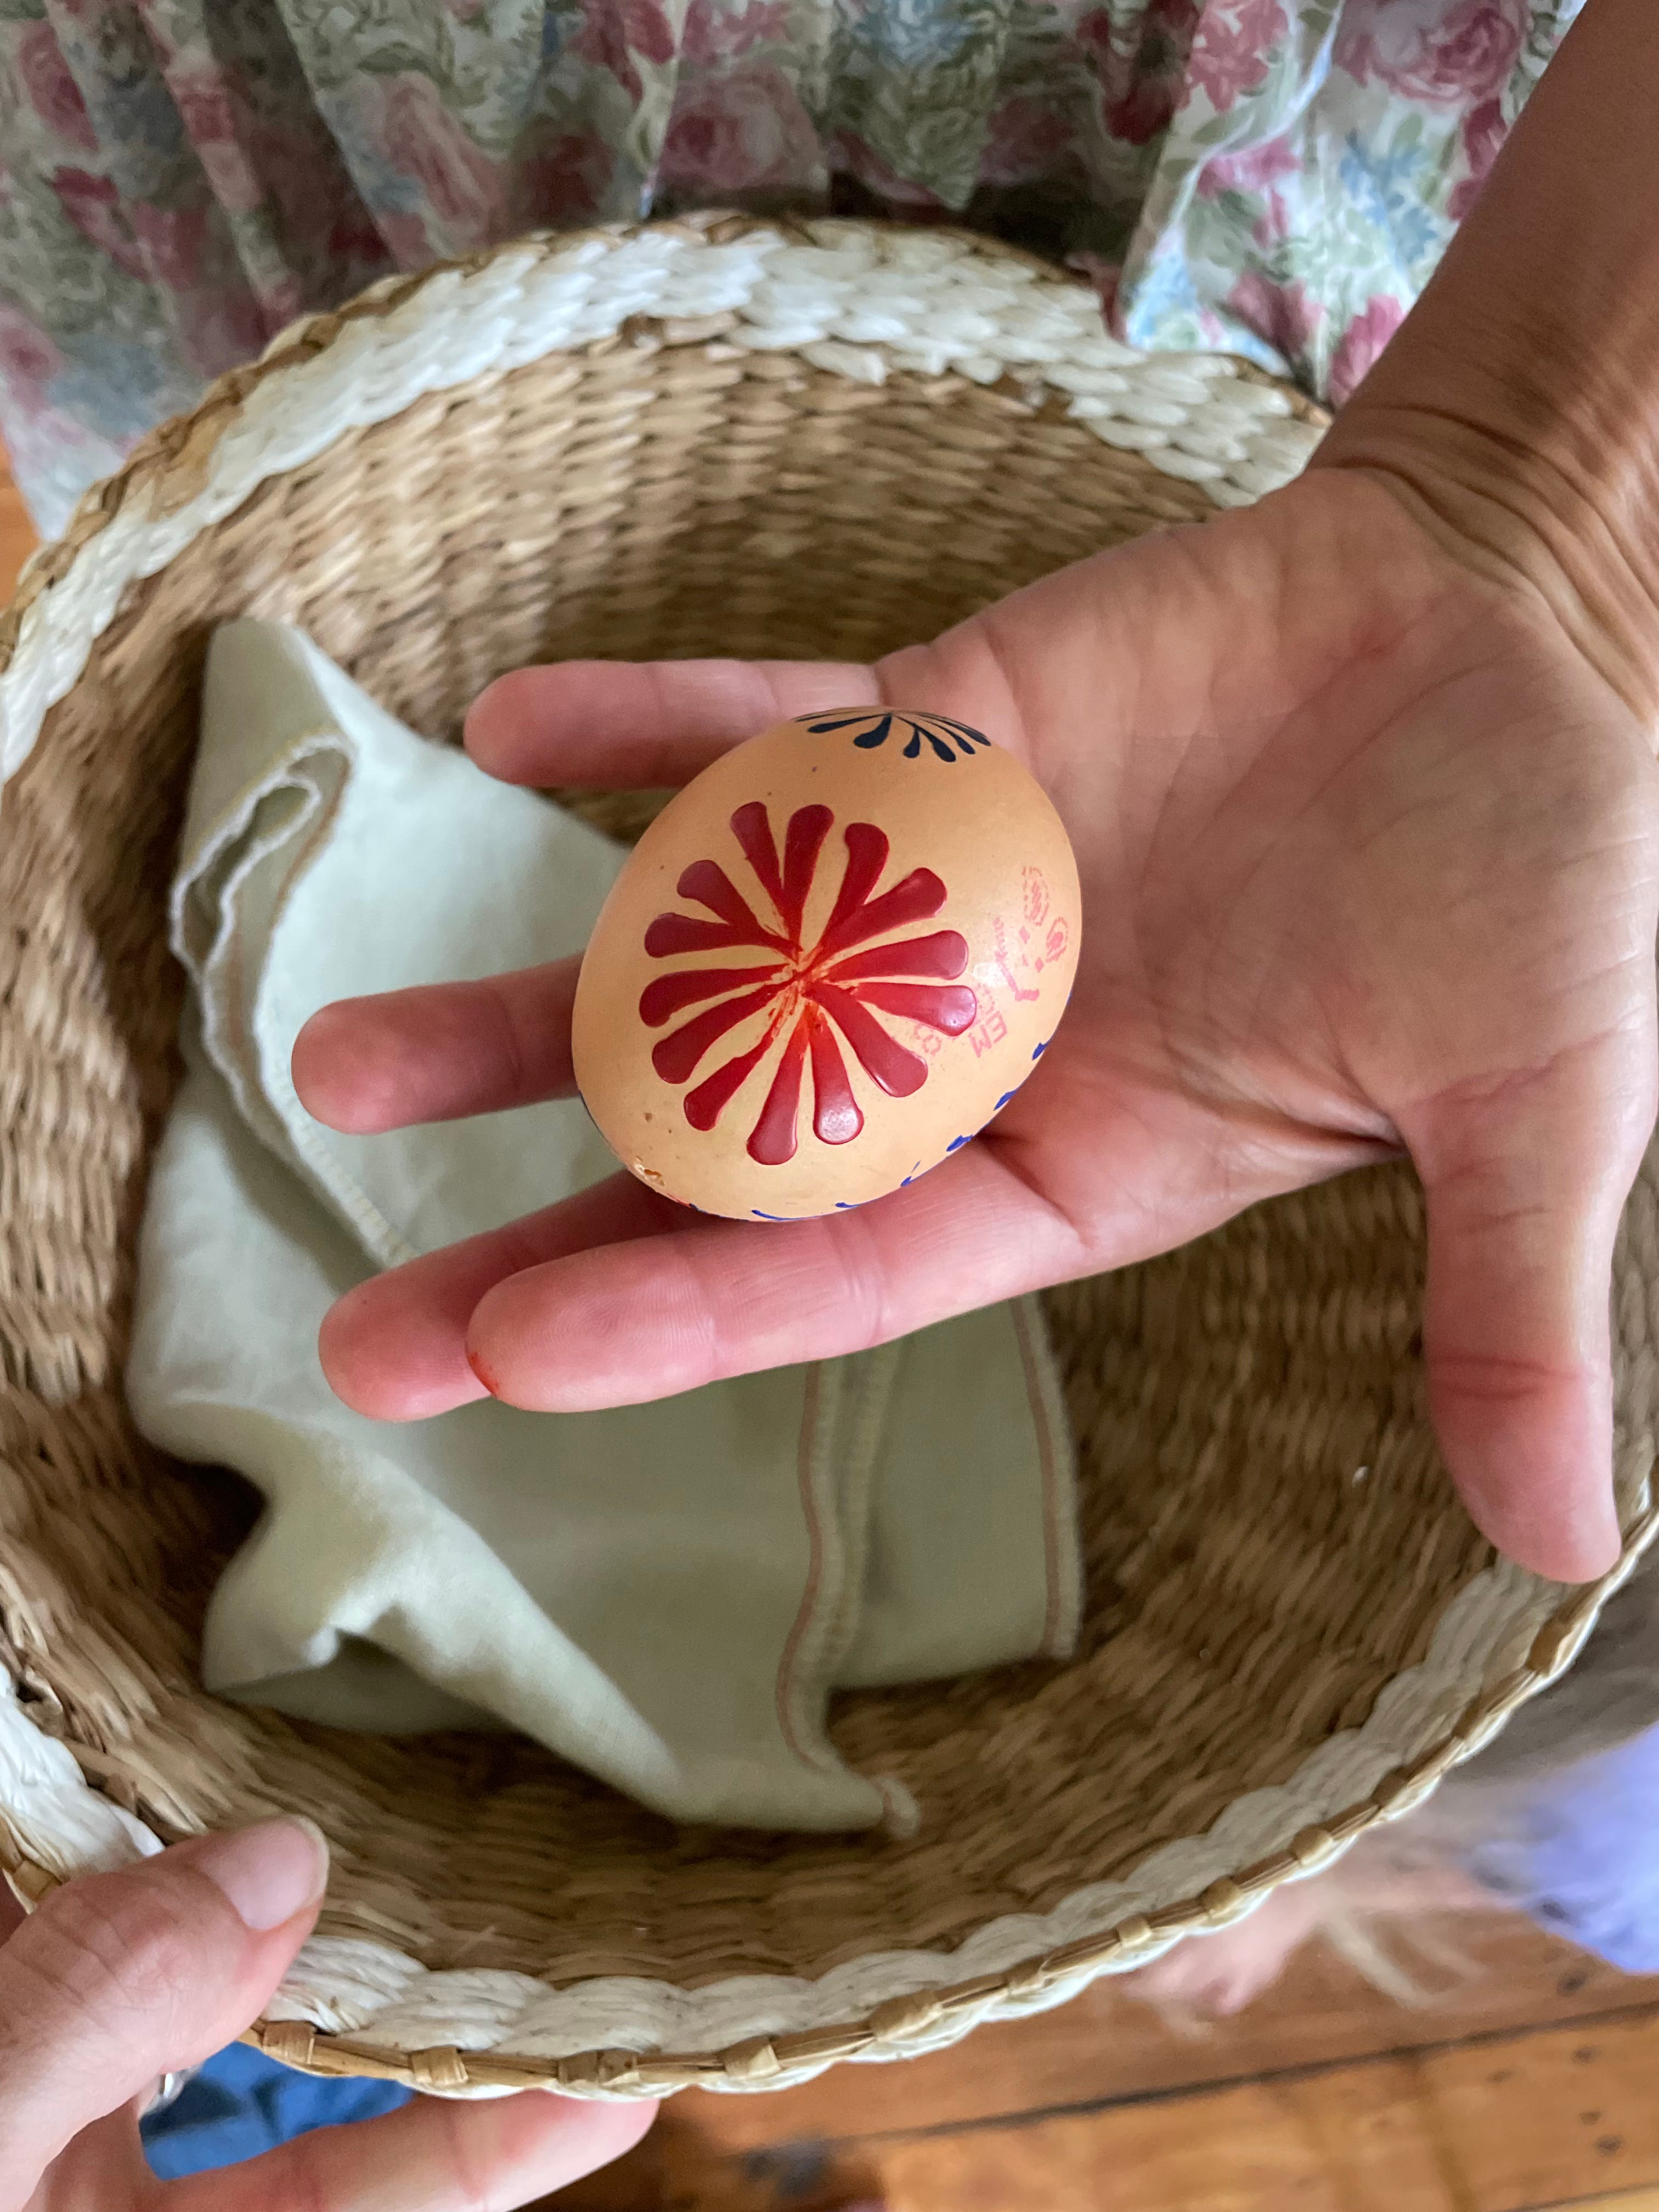
For best results, use white eggs ( we were lucky with blue eggs this year from our chickens) , or naturally dye them first by boiling them in onion skins to get a warm brown colour, and let them dry fully before decorating. For the method, after the eggs are already dyed, melt different kids’ beeswax crayons (each colour in its own little container); you can use a small heatproof cup or even a beer bottle cup like you showed, just remove any plastic parts first and heat it very gently on the stove at a very low temperature, preferably sitting the cup in hot water so the wax melts slowly.

Then use a pin in the pencil or small tool to dip into each colour and draw different patterns directly onto the egg—lines, dots, flowers, or shapes—building up your design with the coloured wax. Since the eggs are already dyed, you don’t need to dye them again; just let the wax set and the colours will stay on the surface.
Video for instruction here:
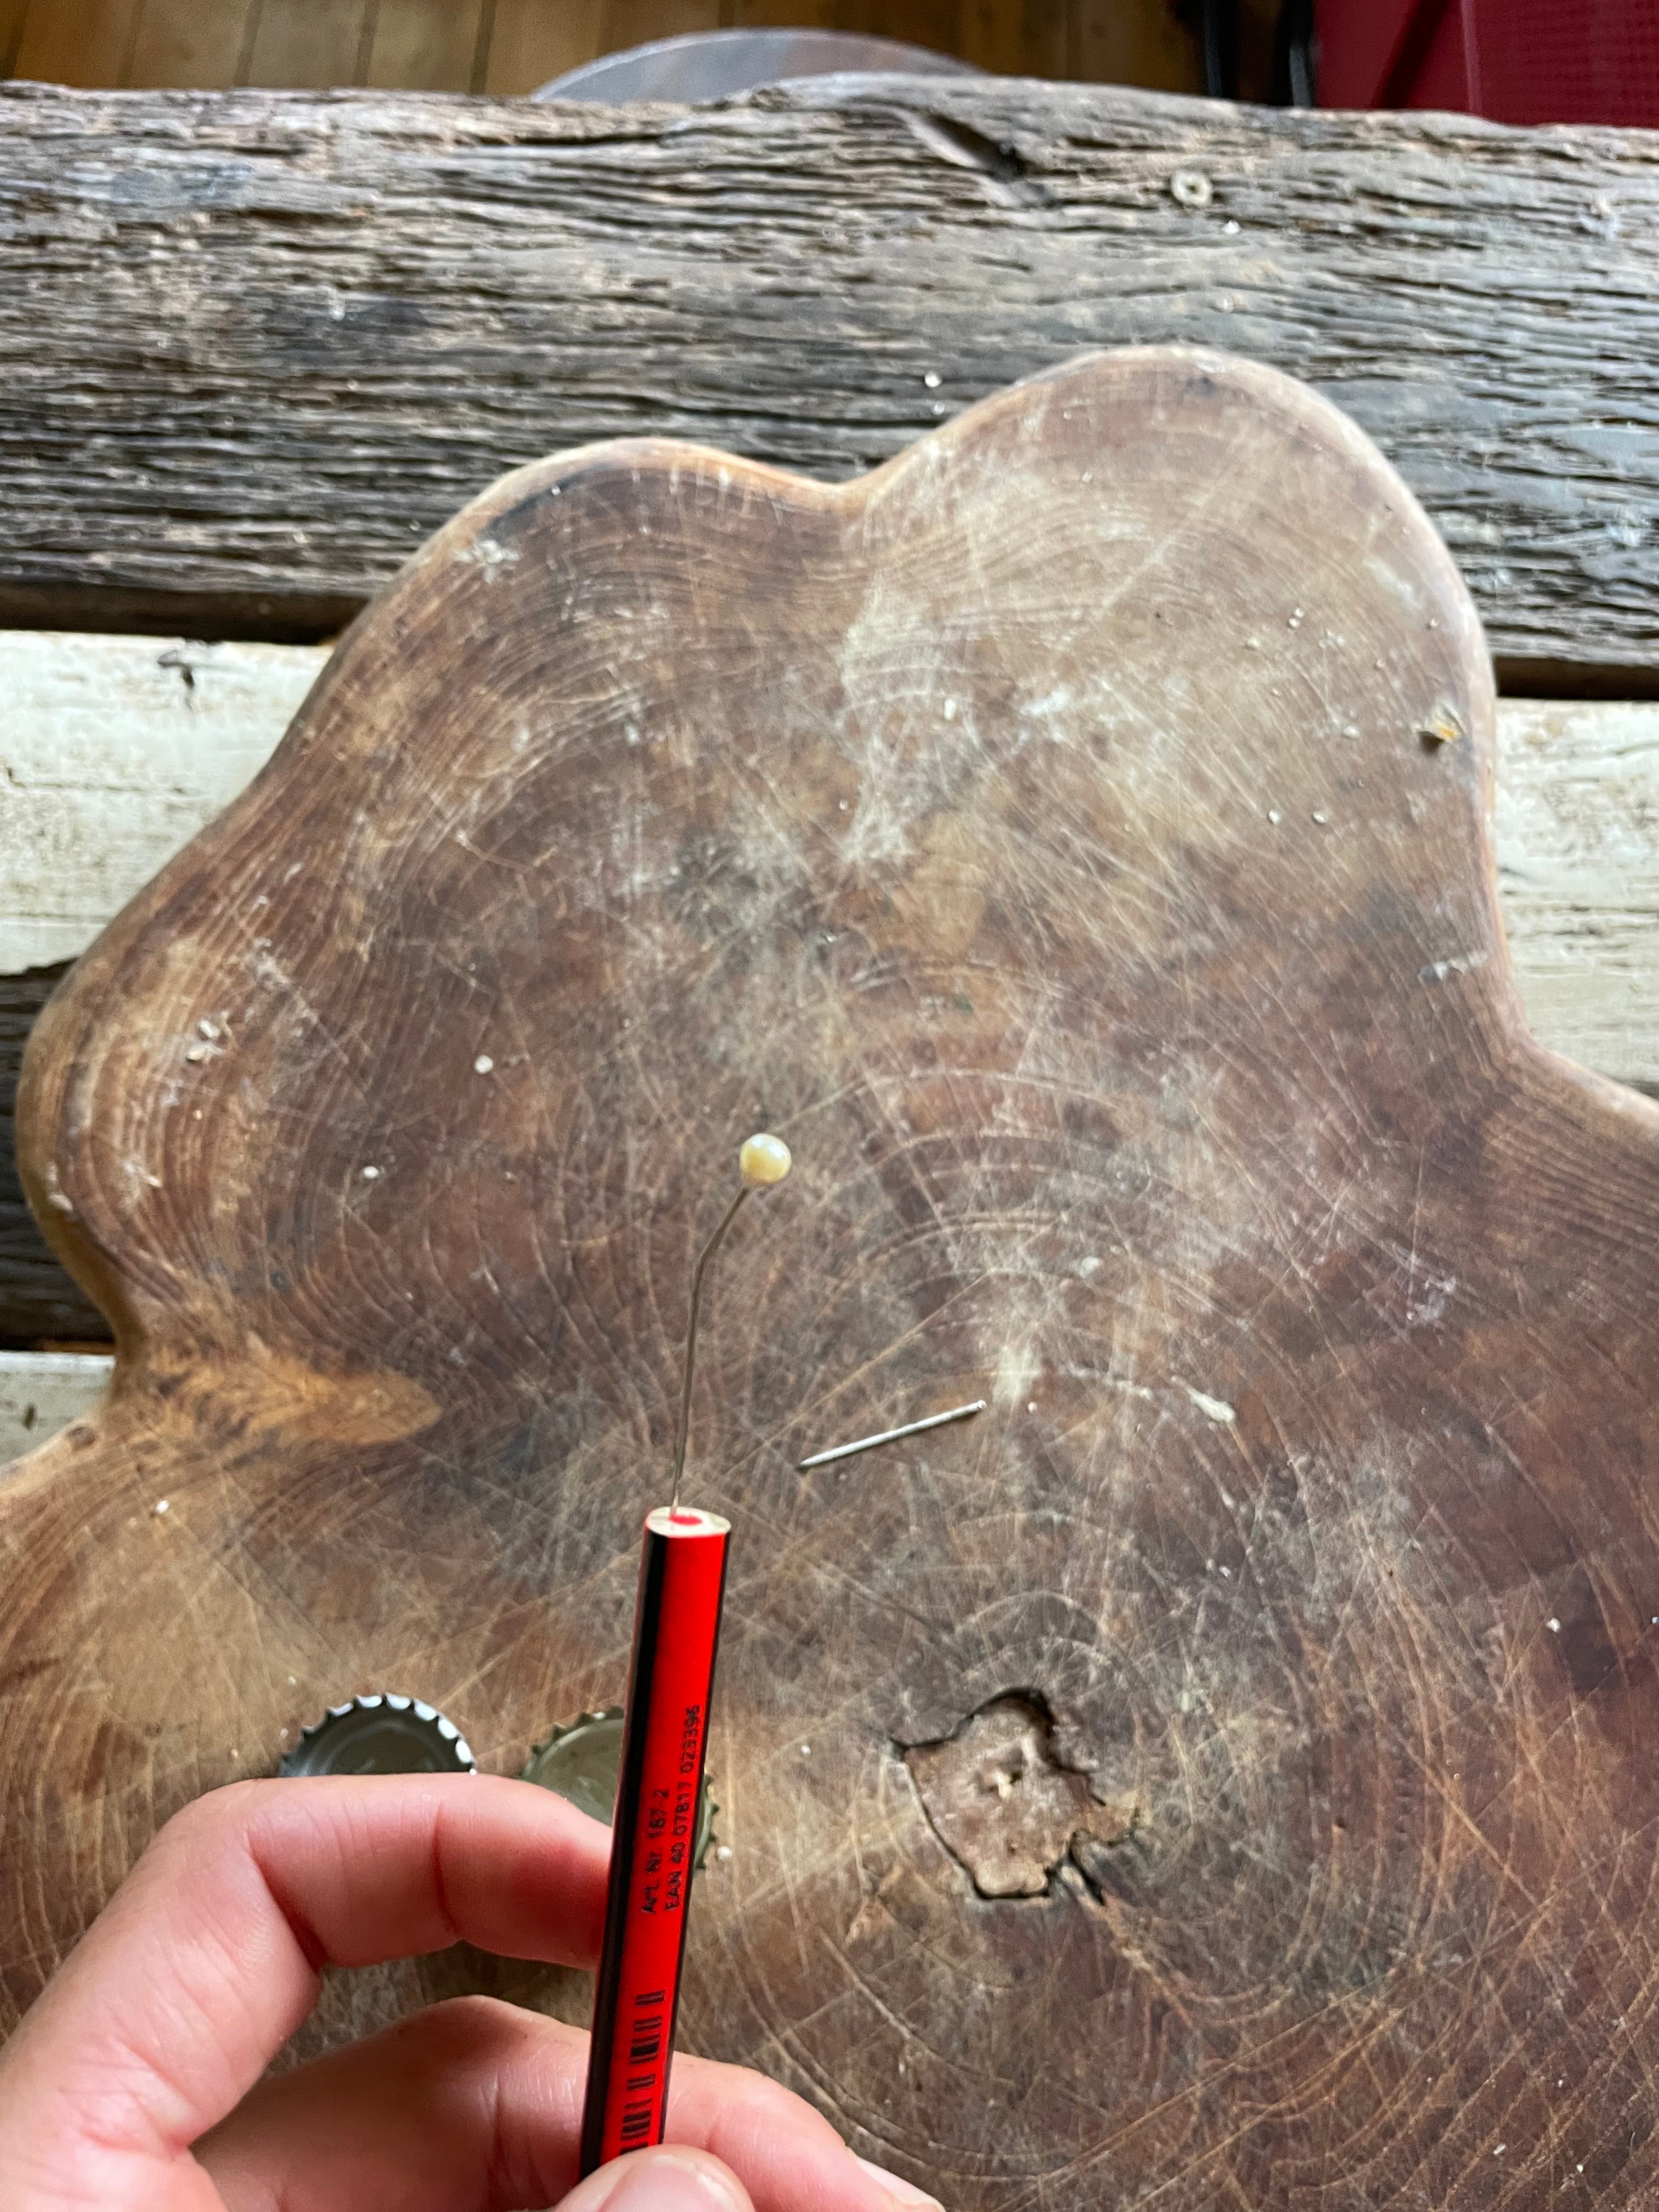
To hang it, thread a thin string through the egg by pushing a needle through the holes, then tie a knot or small bead at the bottom so it doesn’t slip through, and make a loop at the top for hanging.
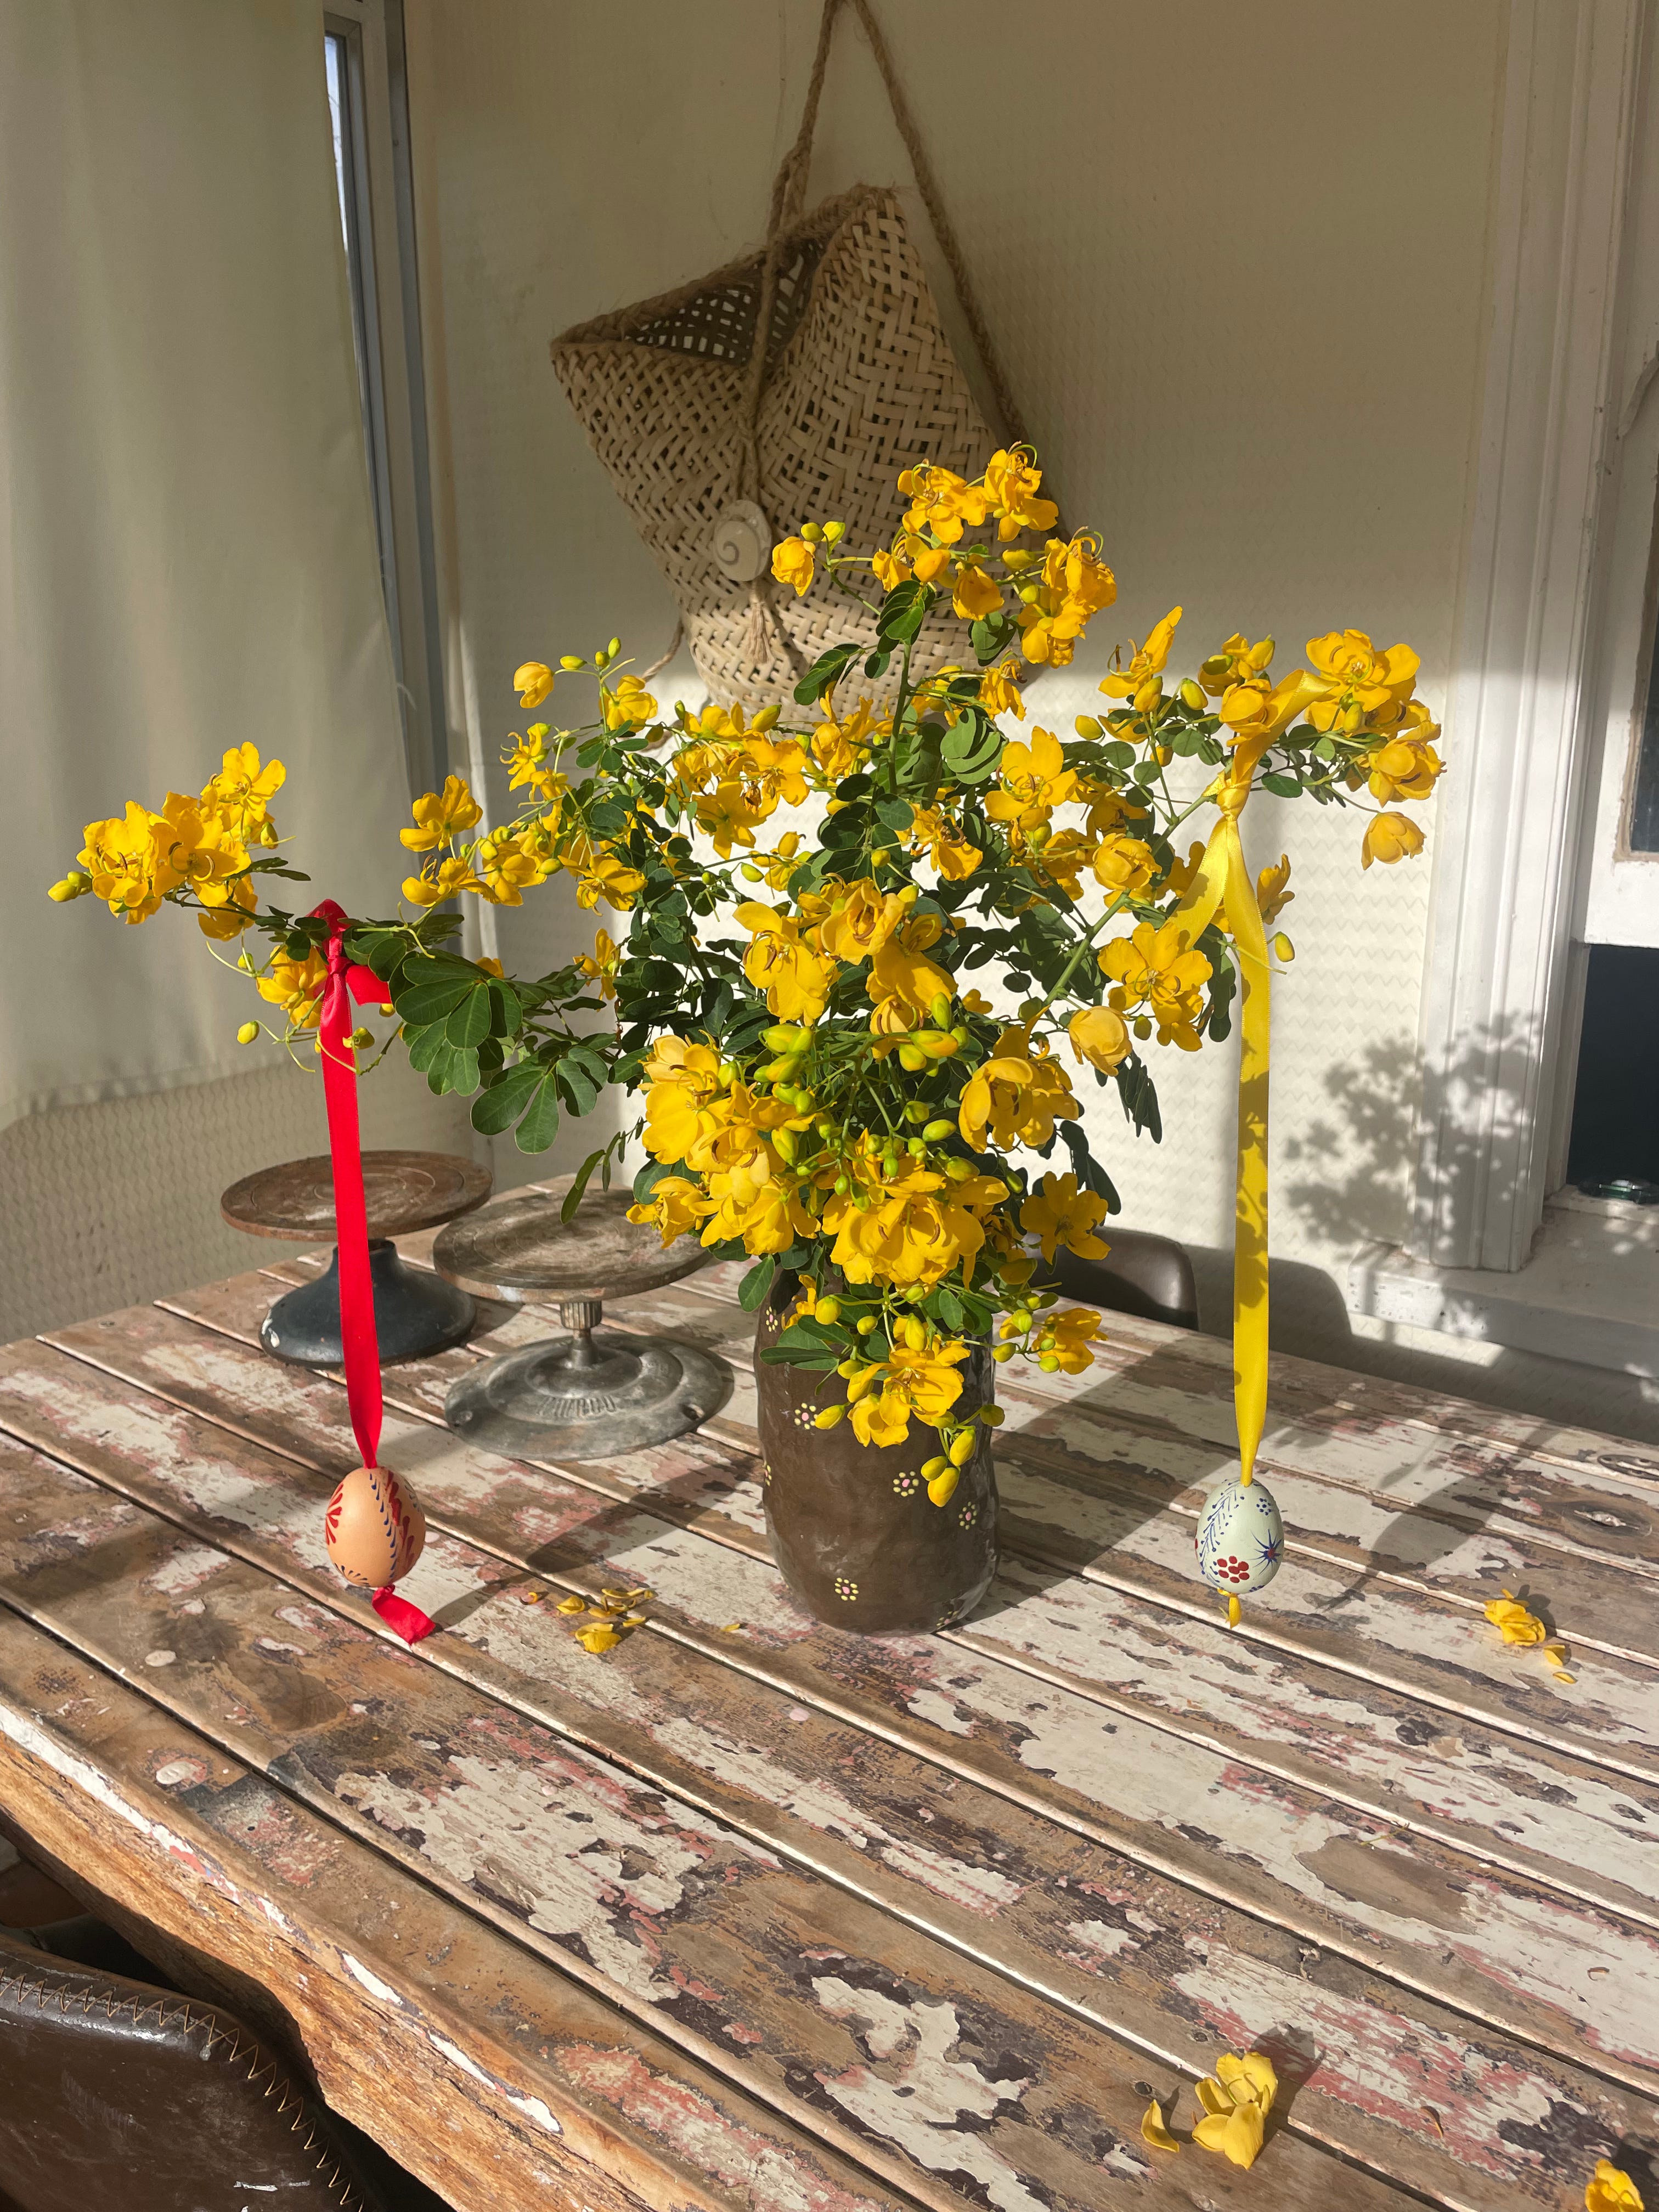
Final result here: